DIY Sump Setup: Lessons Learned from a Hardware Failure
Quick Lesson
What Happened
One of the biggest advantages of DIY in the aquarium hobby is that you do not just own the system — you understand it.
And sometimes, that understanding does not fully sink in until something goes wrong.
Recently, I ran into an issue with my display tank and sump setup that reminded me exactly why DIY can be so rewarding. Frustrating in the moment, but a good reminder that patience matters — and so does knowing your system.
When I designed this setup, I built in safeguards.
If the sump intake in the display ever gets clogged, the sump will eventually run dry and stop pumping — but it will not overflow, because I already marked the maximum fill line. After a water change, I know exactly where to stop. I also designed it so that if the return pump stops or gets clogged, the display will not keep draining endlessly into the sump.
At least, that was the plan.
A few times, when I shut the pump off to feed the fish, the sump would suddenly overfill. I missed it the first couple of times and only caught the after-effect. The quick fix was restarting the pump and getting the water moving again — but I knew something was off. I built this system. I knew how it was supposed to behave.
What I Found
So I did what this hobby often demands: I sat there and watched.
Every time I fed the fish, I watched the sump.
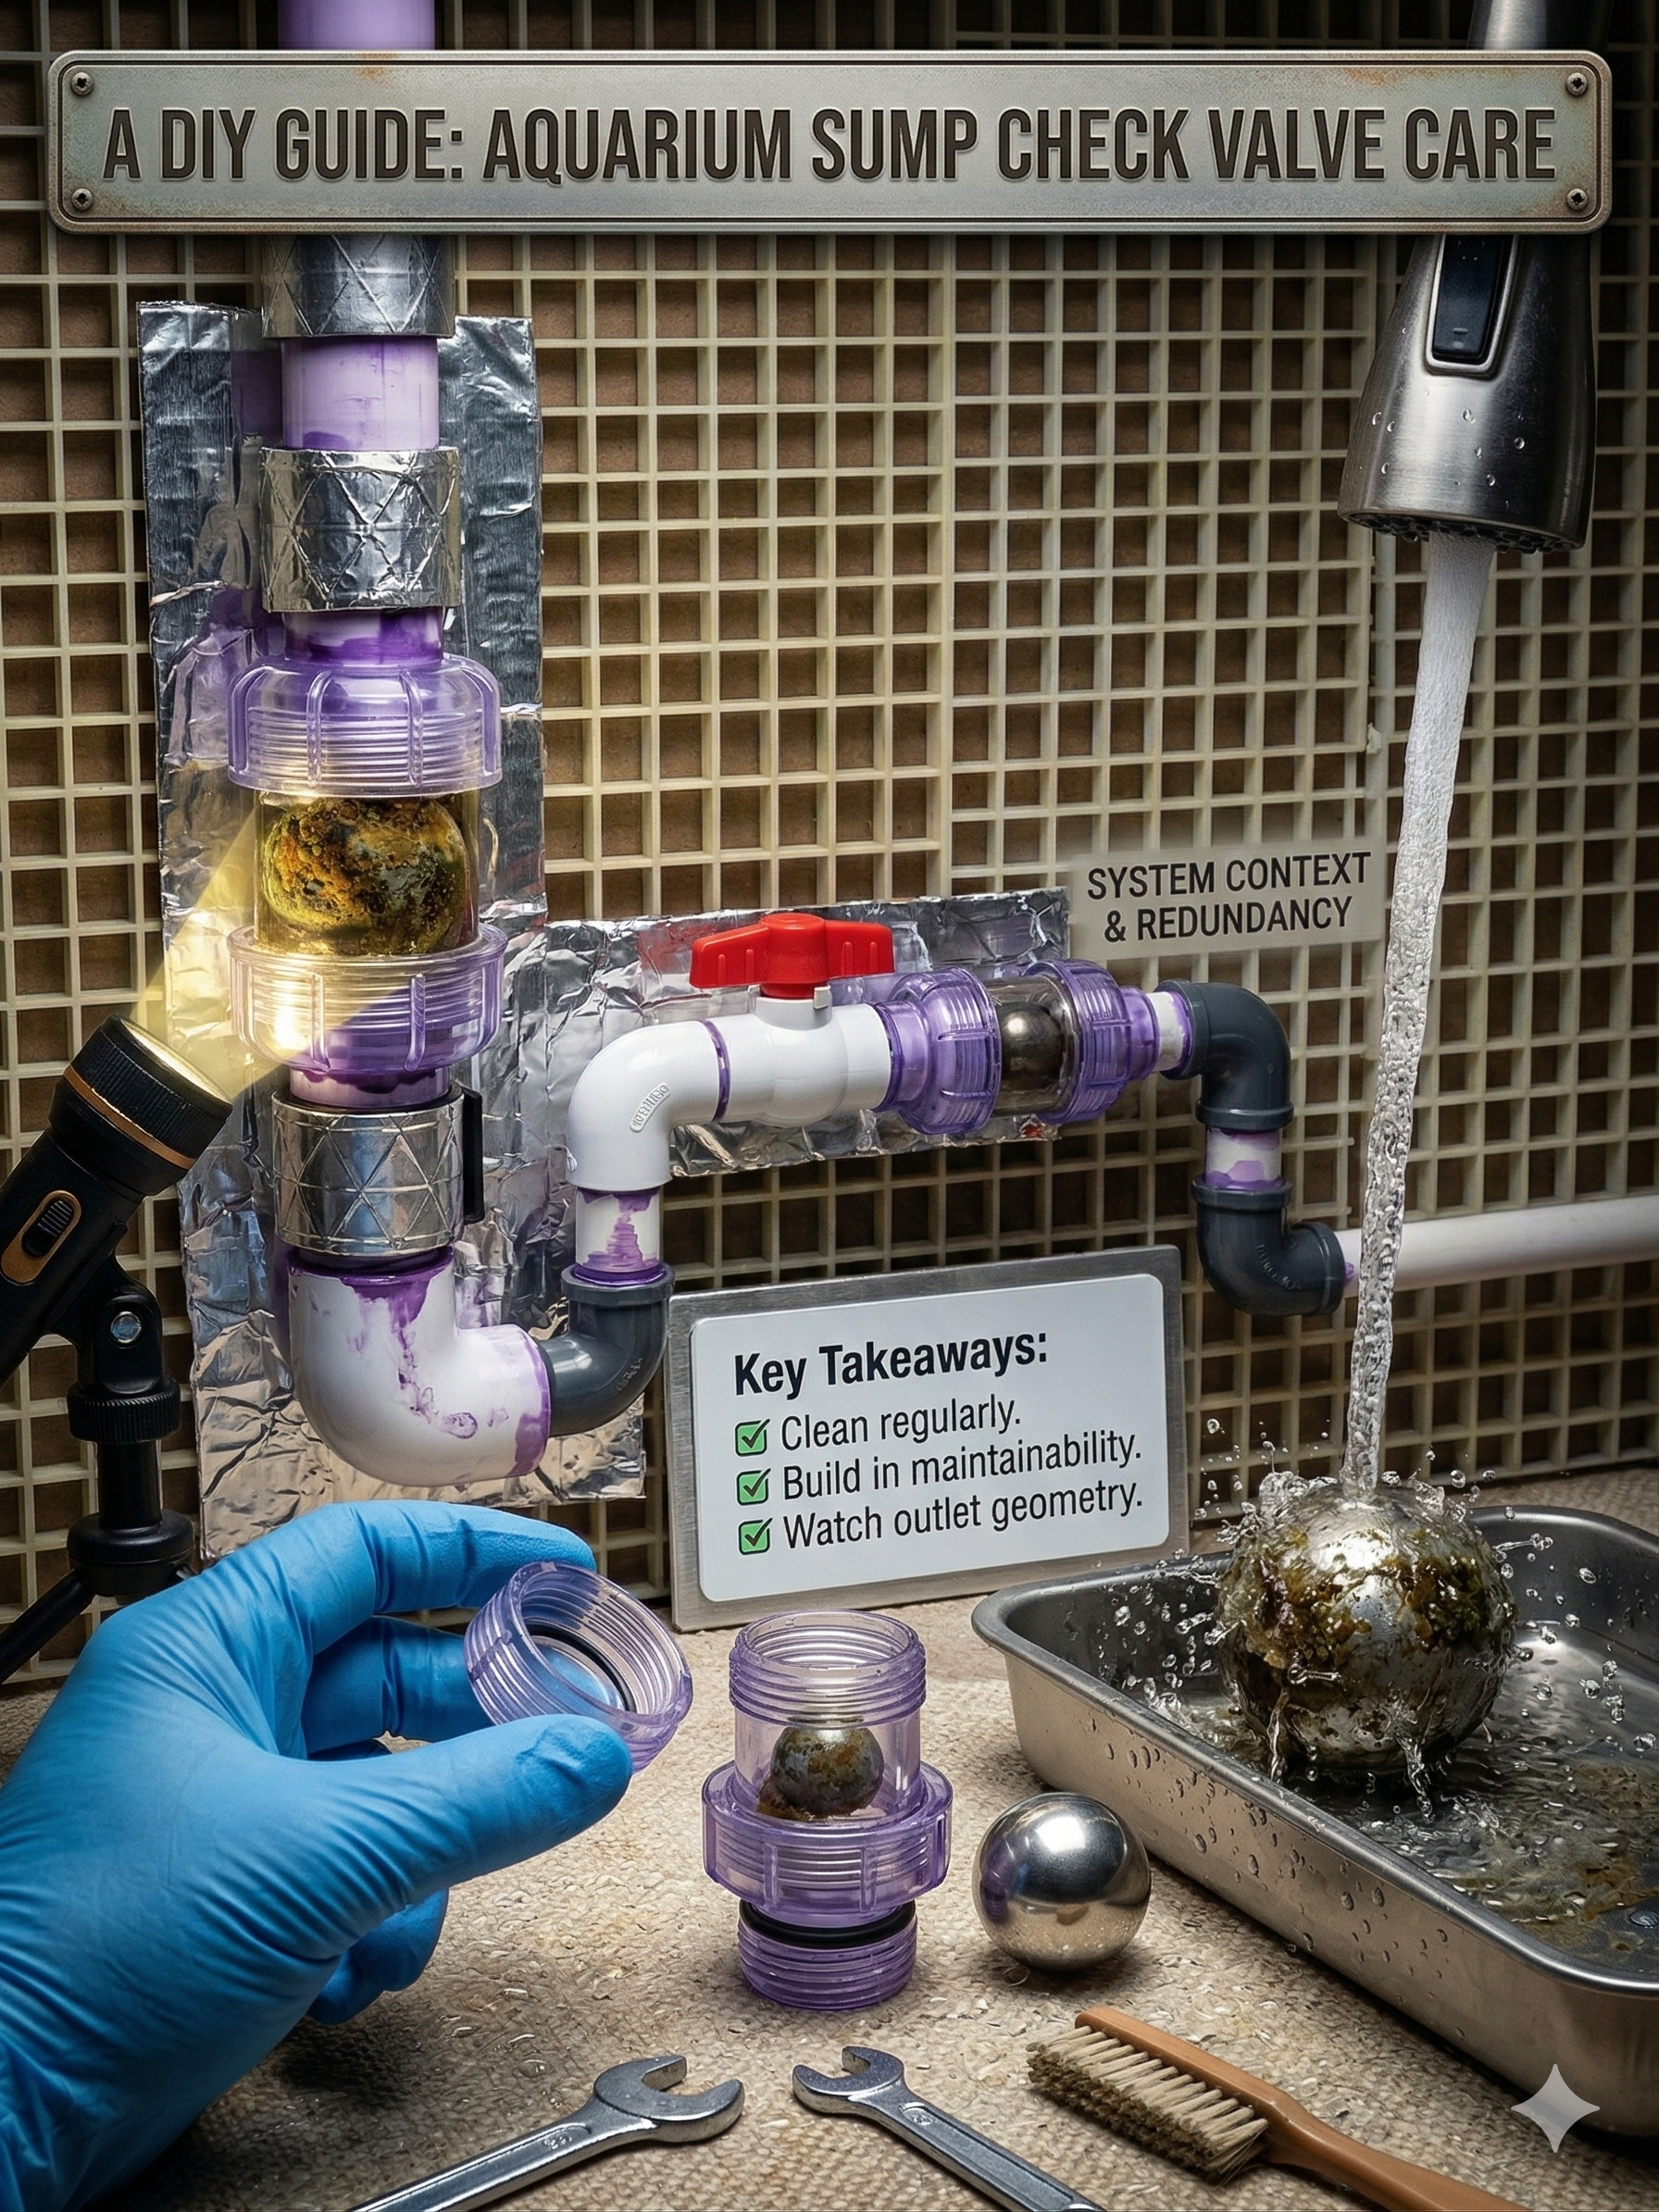
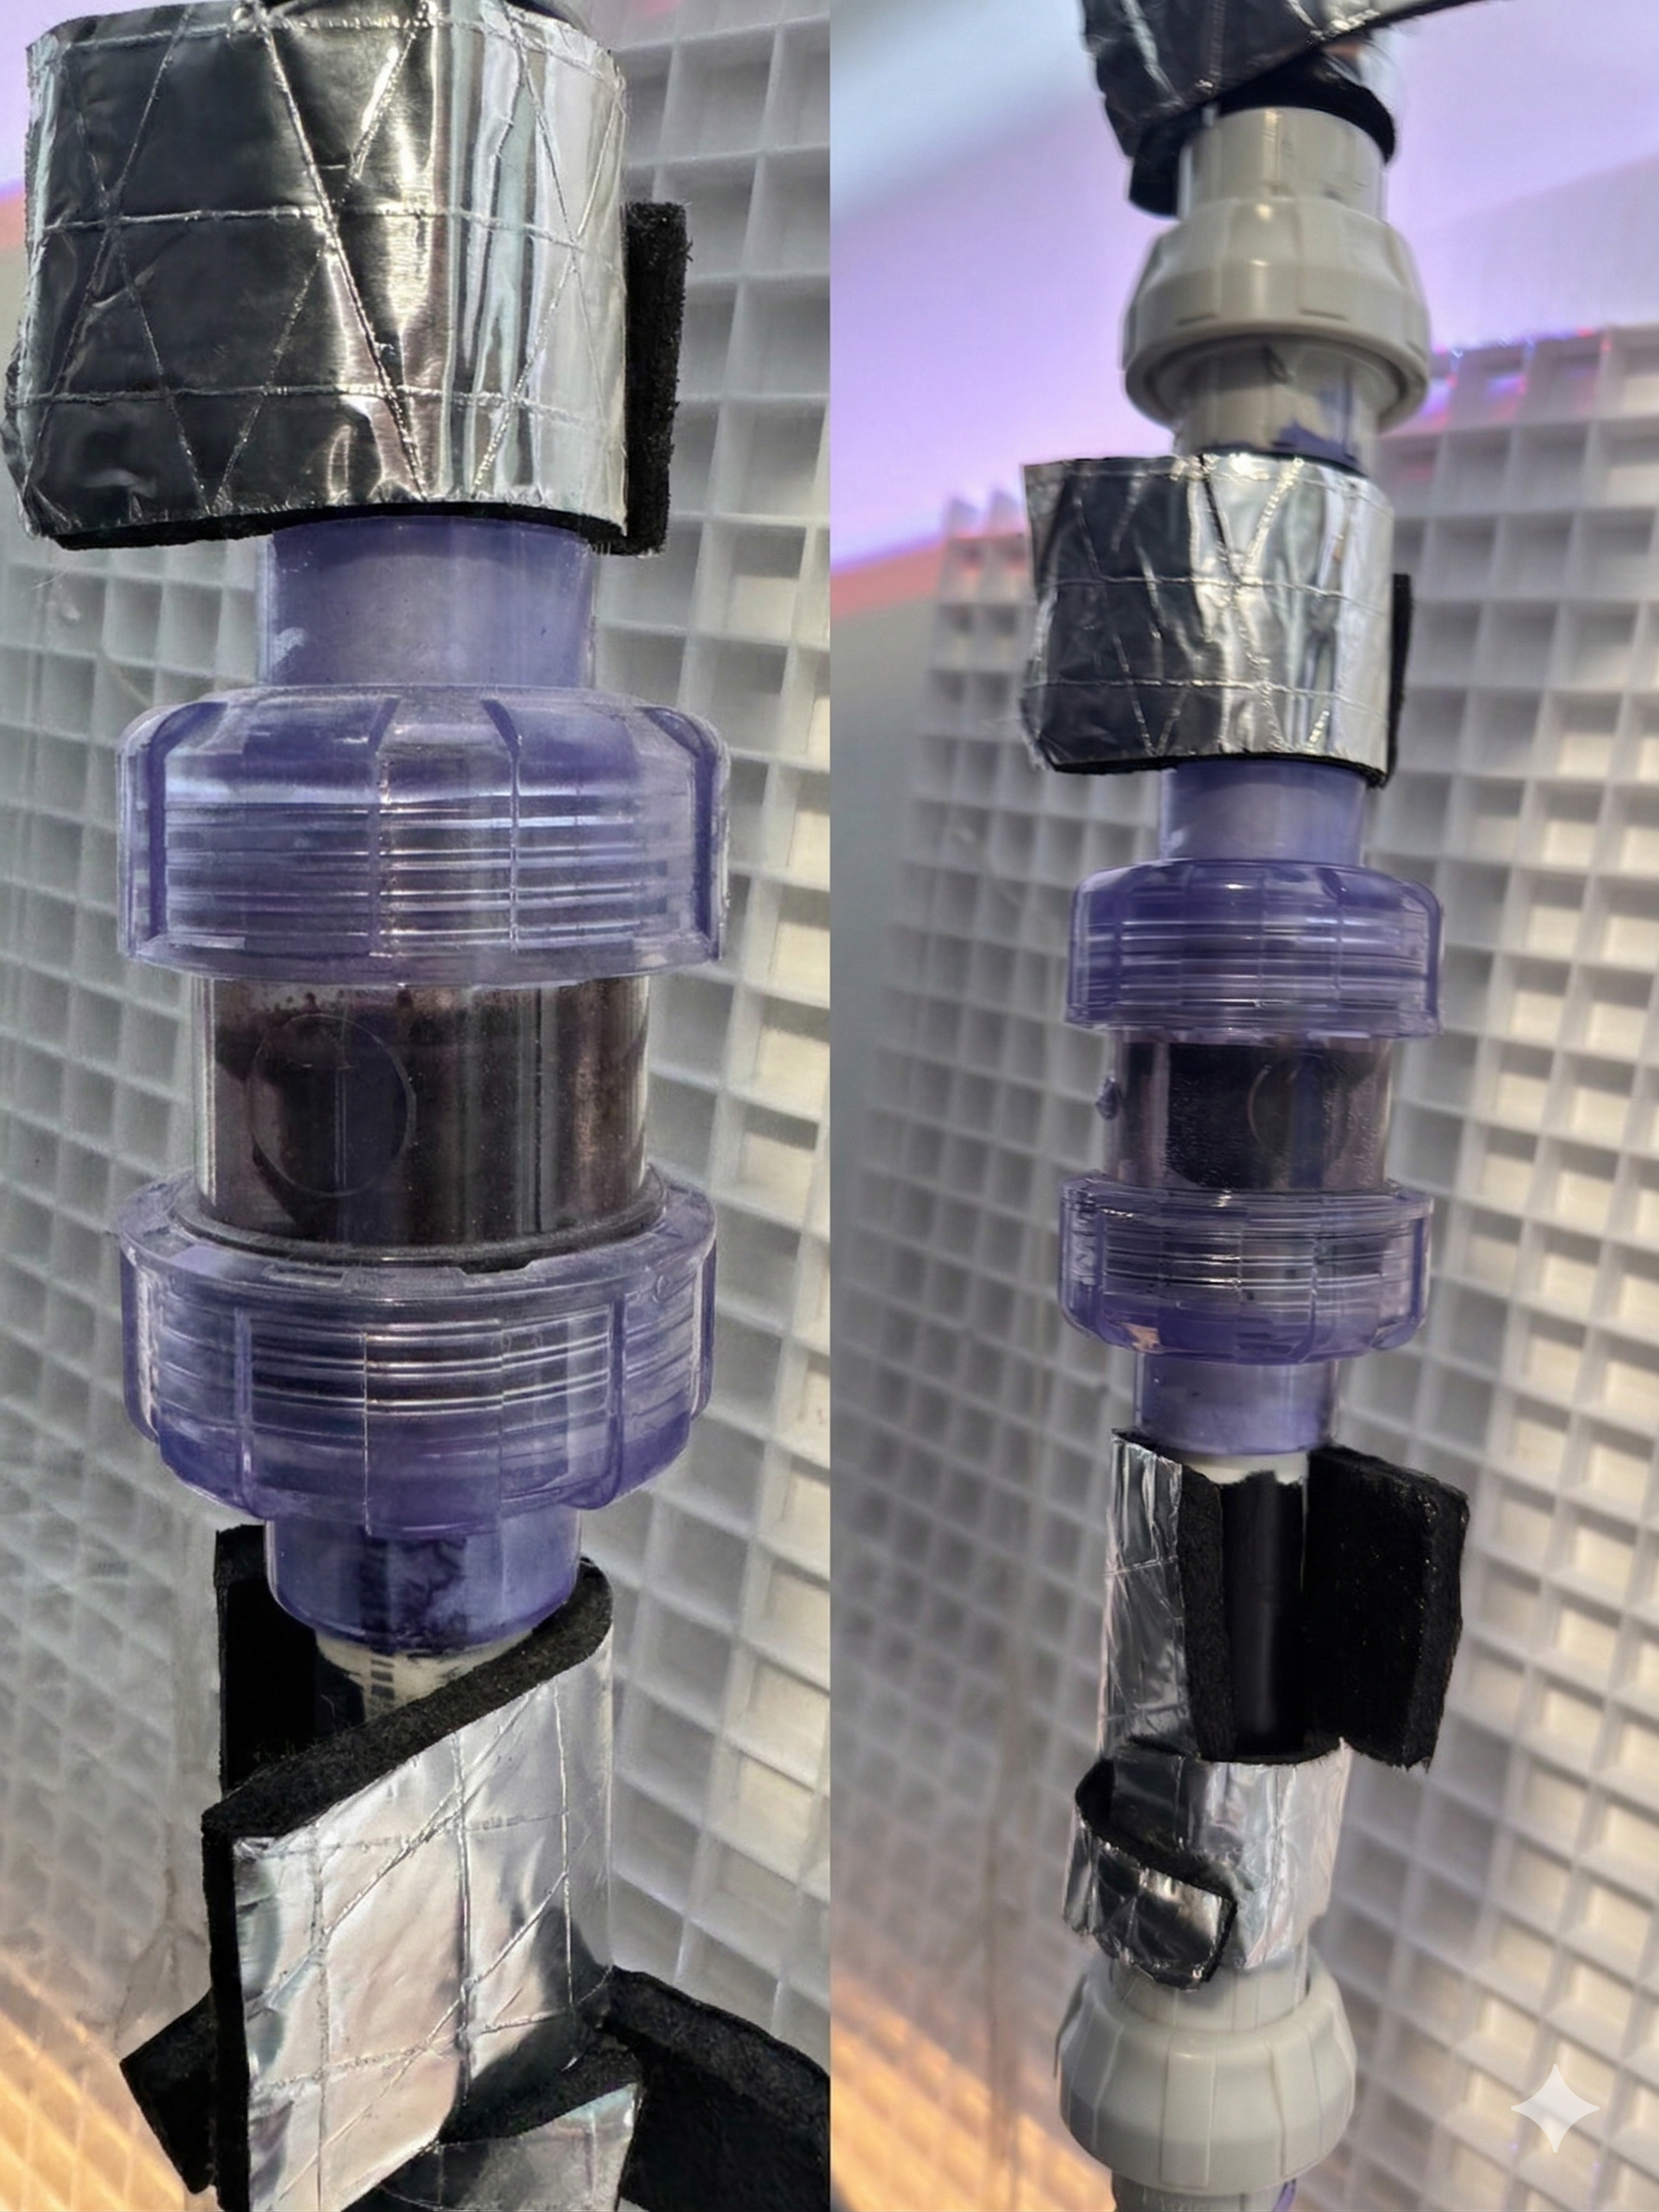
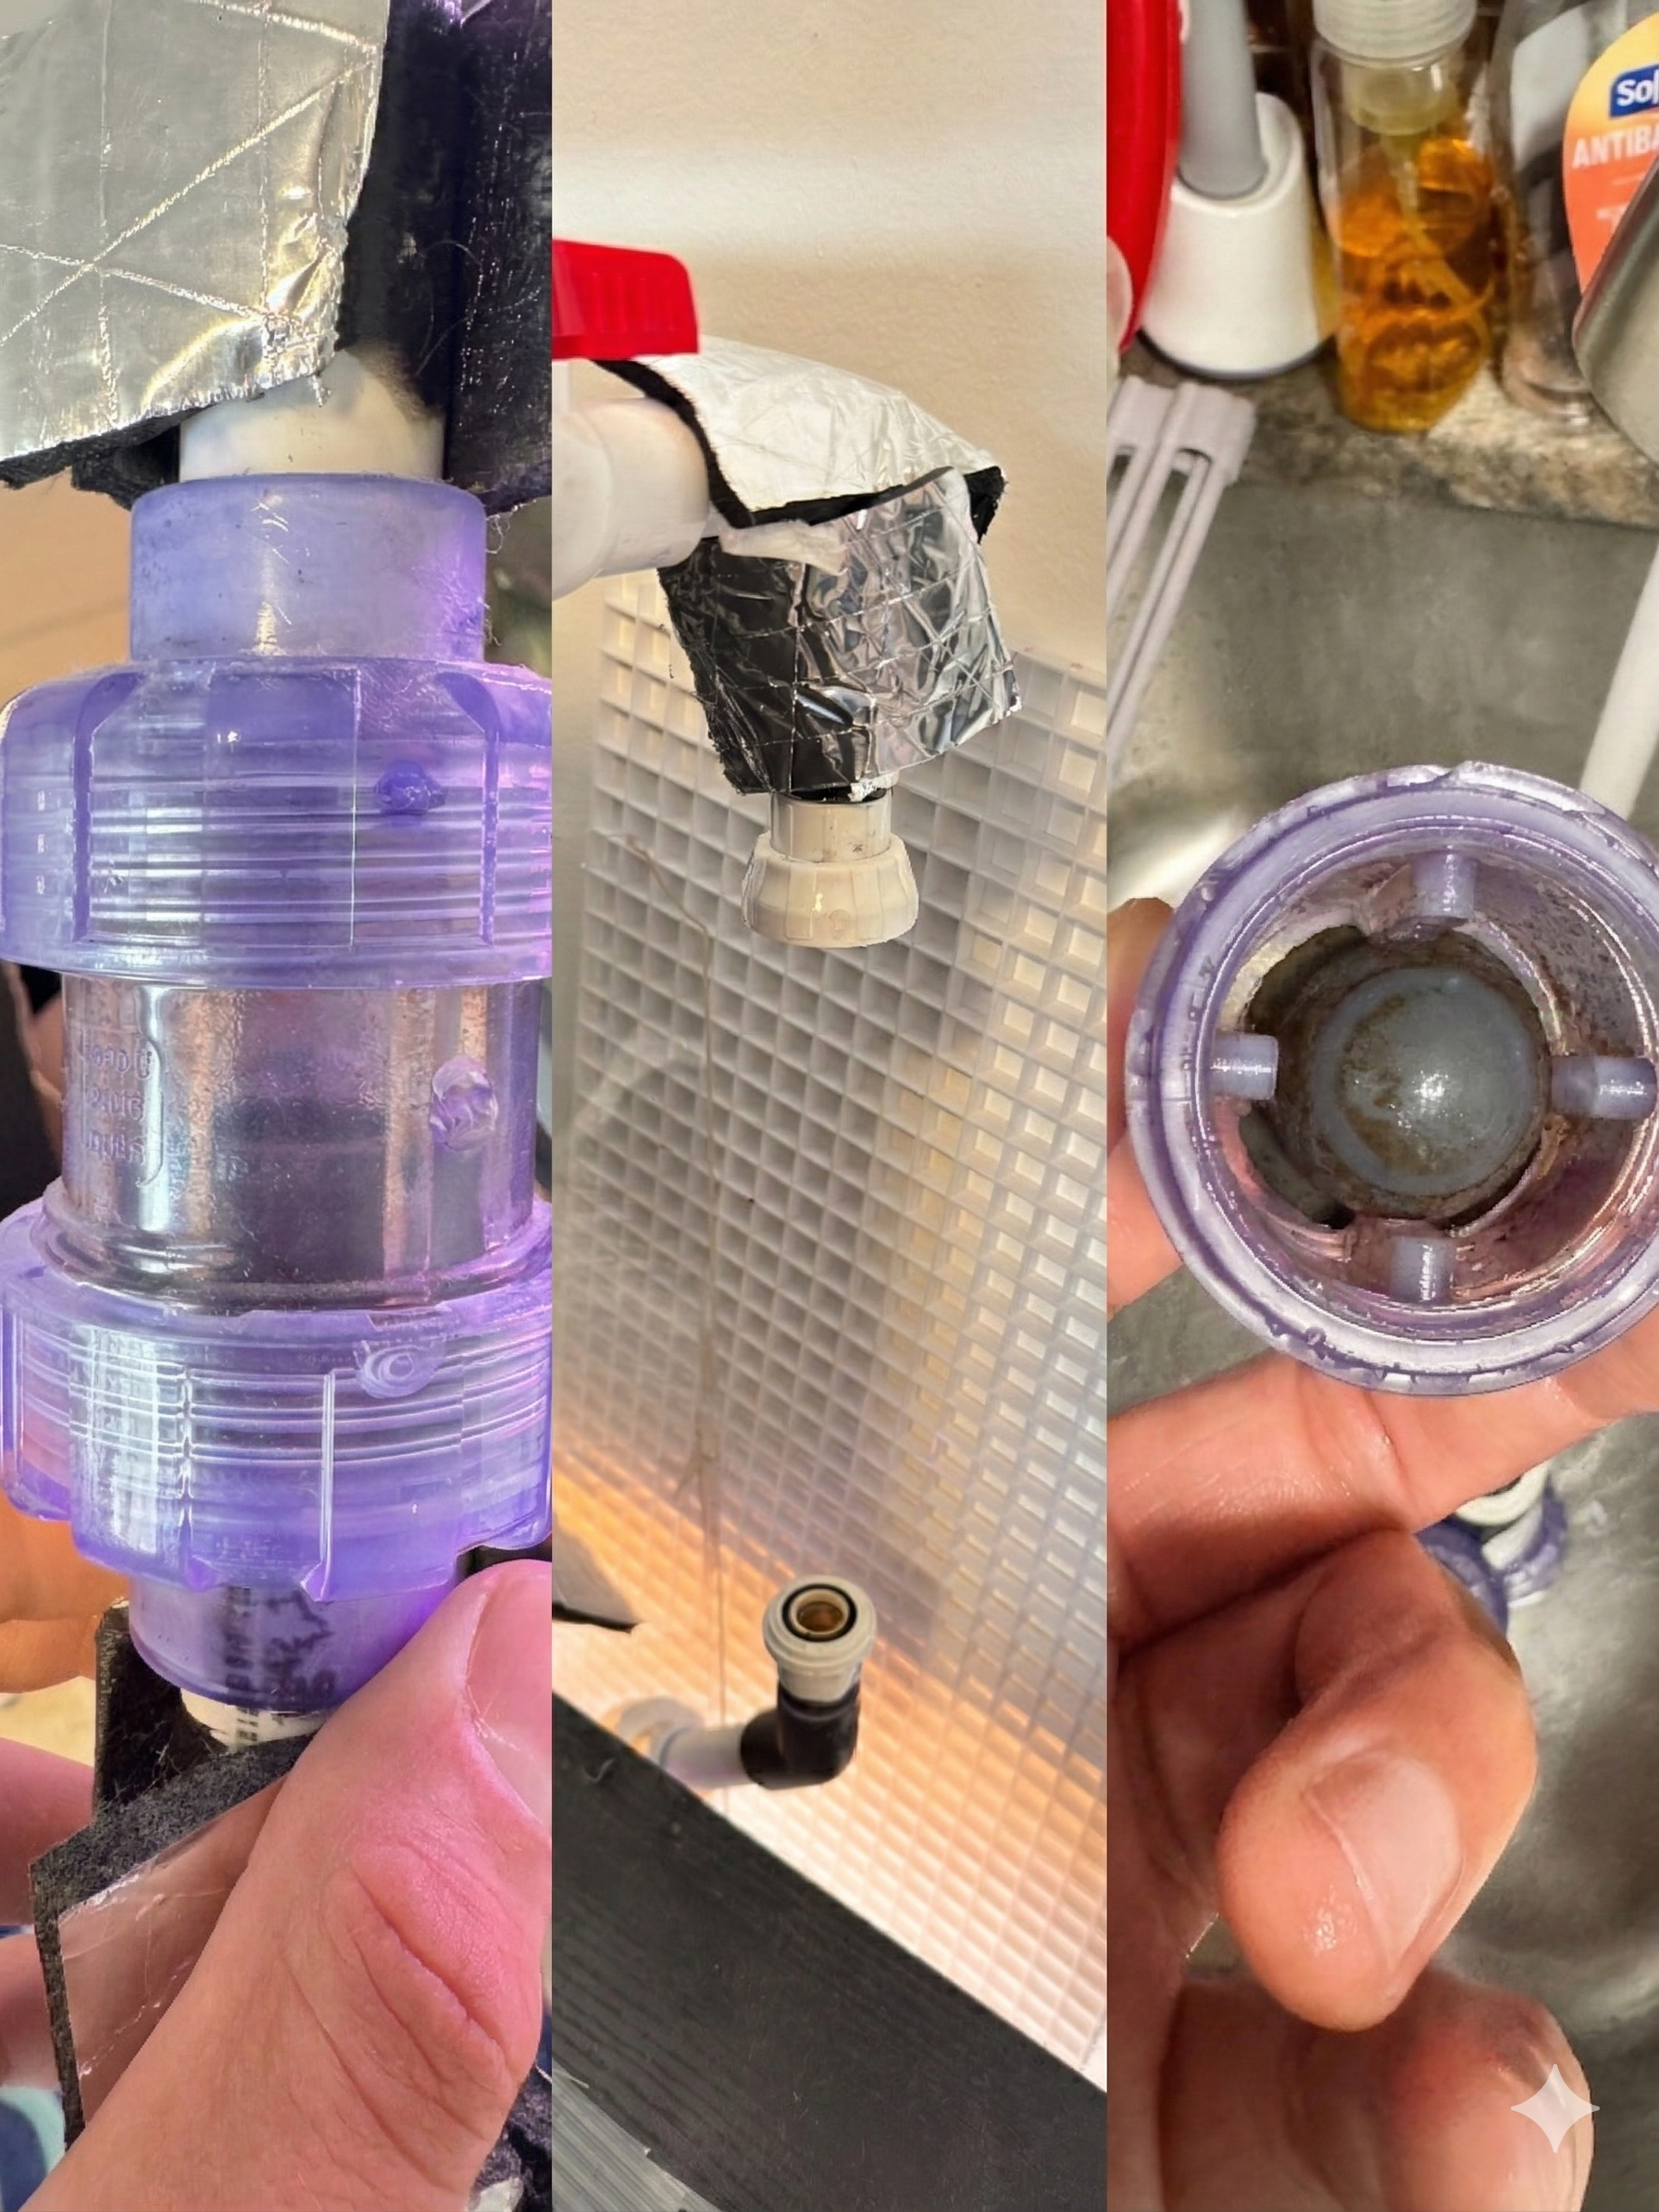
Eventually, I caught it happening. When the sump started rising, I checked the display first — the water level was still above the intake, so that side of the system was fine. Then I turned to the one-way check valve on the return line. The housing is clear, so I could see straight in — and there was the problem. The internal stopper was sitting crooked, not fully sealing, letting water slip through when it should have stopped.
The Fix
Fixing it was straightforward, because of how I designed the system from the start.
I built in disconnect points throughout. Once I found the issue, I unscrewed the connection, pulled that section of PVC, and got right to the check valve — no major teardown, no fighting through a cramped repair. When you build a system yourself, you already know how it comes apart.
The inspection told me what happened: a small amount of buildup inside the check valve was enough to tilt the internal piece out of alignment and let water slip past when the pump shut off.
Not a major failure. Just a minor hardware issue caused by buildup over time.
Honestly, for a setup that will be about two years old in September, I can live with that. This is the first real hardware failure I have had. That is a solid track record — and the issue was preventable. More consistent observation would have caught it sooner, and now I know this is a maintenance point to keep an eye on. Down the road, I may look into a more reliable check valve design. But for now, I know what happened, I know how to service it, and I know what to watch.
The Real Design Lesson
The deeper lesson, though, was about the design itself.
I use a siphon stopper-style return fitting, designed to break siphon by letting air into the line once the water level drops past a certain point. The idea is that you are not relying on the check valve alone — air can enter and stop the siphon more reliably.
In my case, the openings near the top of the nozzle were not placed high enough to do that job effectively. So while the check valve failed to seal properly, my backup protection was also not optimized.
I got one part right and one part wrong. The sump intake height worked exactly as it should and protected the display from overflowing. But the return line needed a better siphon break position — and I learned that a check valve should never be the only line of defense.
Final Thoughts
That is the kind of lesson you only learn by doing.
Sometimes the lesson is not in the setup going perfectly. It is in sitting back, watching closely, and figuring out what the system is trying to tell you. These moments are worth recording — because the real value is not just in the finished tank, but in everything you learn while improving it.
If you want to track your own builds, maintenance, and lessons, check out the Daily Tank Journals, available in Planted and Standard editions. And if you want to follow this build as it develops, visit the journal section of the media page.
FAQ
Why is a check valve not enough for sump flood protection?
Check valves can fail due to debris, wear, or misalignment. A correctly placed siphon break gives you an independent backup when the pump shuts off.
What causes back-siphon problems in a DIY sump return line?
Back-siphon usually happens when return nozzles or siphon-break openings sit too low, allowing excess display water to drain into the sump after shutdown.
How do you stop a sump from overflowing during a power outage?
Mark a safe maximum sump fill line, use a reliable siphon break, keep return outlets at conservative height, and test full pump-off behavior before leaving the system unattended.
Where should a siphon break hole go on a return line?
Place it at or just below the normal display waterline so it pulls in air quickly as the water drops during shutdown.
What is the main lesson from this DIY sump issue?
The main lesson is to design redundancy into the system. Do not rely on a check valve alone; pair it with a correctly placed siphon break and verify shutdown behavior with real tests.

Log parameters, feeding, and maintenance with our journals and guides.