DIY Freshwater Sump Design: Building a 5-Gallon Sump for a 29-Gallon Aquarium
By FishKeepingLifeCo | Updated January 2026
My DIY Journey: Why I Built a Custom 5-Gallon Sump for a 29-Gallon Aquarium
This post isn’t a step-by-step build guide.
It’s the why, the learning curve, and the thinking behind building a custom 5-gallon sump for a 29-gallon aquarium — and why it became a full system experiment instead of just a filtration upgrade.
What is a 5-gallon aquarium sump? A 5-gallon sump is a small secondary tank plumbed beneath an aquarium that increases total water volume and provides space for mechanical media, biomedia, and optional plants to stabilize the system.
This is a design case study and systems overview, not a step-by-step HowTo build guide.
My DIY Journey Didn’t Start With a Sump: Learning Freshwater Filtration Basics
My journey into DIY didn’t begin with plumbing or glass cutting. It started with hacking hang-on-back filters.
Like most people, I ran manufacturer cartridges at first. They worked. Once I learned about hacking hang-on-back filters, I started experimenting.
I began cutting my own sponges and changing densities, paying attention to how water moved through the filter instead of blindly accepting the default design. That process taught me something early on:
You don’t have to reinvent equipment — sometimes you just need to understand it better.
From Filter Hacks to Control and Cost Savings
That curiosity naturally led me to DIY sponge filters for freshwater aquariums — the empty containers where you add your own media and run them on air.
At that point, I wasn’t just using filters anymore — I was building them. I could decide what media went inside, how easy they were to clean, and how the water actually interacted with each layer.
Saving money was absolutely part of this. DIY let me stop rebuying cartridges, buy media in bulk, reuse materials, and spend money where it actually mattered.
But the bigger benefit was control. When you know what’s in your system, you know why something goes wrong when it does — and you’re not locked into replacing proprietary parts just to fix it.
The DIY Mindset: From Equipment User to Aquarium System Builder
Like a lot of people early in the hobby, YouTube played a big role in how I learned.
I watched content focused on hacking filters, replacing cartridges, increasing usable media, and getting more out of existing equipment. What stuck with me wasn’t just the builds — it was the mindset behind them.
DIY changed how I thought. Instead of just using equipment, I started asking a different question:
Can I build this myself?
That question reshaped how I approached every part of the tank.
DIY Filtration for Planted Tanks: Learning What Not to Run
I’m especially glad I learned how to modify filters before I went planted.
Like most people who move toward planted tanks, I wanted things to feel more natural and balanced. That’s when you start learning what different media actually does.
Carbon isn’t bad, but it removes things planted tanks need — trace elements and nutrients you’re intentionally adding. Because I already understood how to modify my filters, I wasn’t stuck running media that worked against my goals.
I could remove carbon, rearrange media, and tune filtration to support plant growth instead of fighting it.
Borrowing Saltwater Filtration Standards for Freshwater Aquariums
Another major reason I leaned into DIY came from watching saltwater systems.
Saltwater tanks really own the sump. In freshwater — even with larger tanks — sumps are still uncommon. That always stood out to me.
Saltwater systems are built around the reality that small changes can cause big consequences. Stability, monitoring, redundancy, and organization aren’t optional — they’re required.
I wanted to bring that same mindset into freshwater.
If I could keep a freshwater system as clean, stable, and predictable as a saltwater system is expected to be, I wanted to see how far I could take it — especially knowing that saltwater reef aquariums are something I eventually want to pursue.
Fail-Safe Aquarium Design: Gravity vs. Siphon Overflows
Before I ever built the sump, I knew this project was going to test me.
I can be impatient, and this wasn’t something that could be rushed. Before anything else, I had to learn skills I’d avoided before: cutting glass, drilling glass safely, measuring internal tank dimensions accurately, and working with PVC.
All of those feel intimidating at first. They’re surprisingly manageable once you slow down and actually start.
One design decision mattered more than most: avoiding siphon-dependent overflows.
Siphon-based designs can work, but if air enters the line or something shifts, they fail by overflowing. Gravity-fed designs — drilled bulkheads and straight drops — fail by stopping (the pump can’t move more water than gravity feeds, so flow simply stops instead of flooding).
I wanted systems that fail safely, not dramatically.
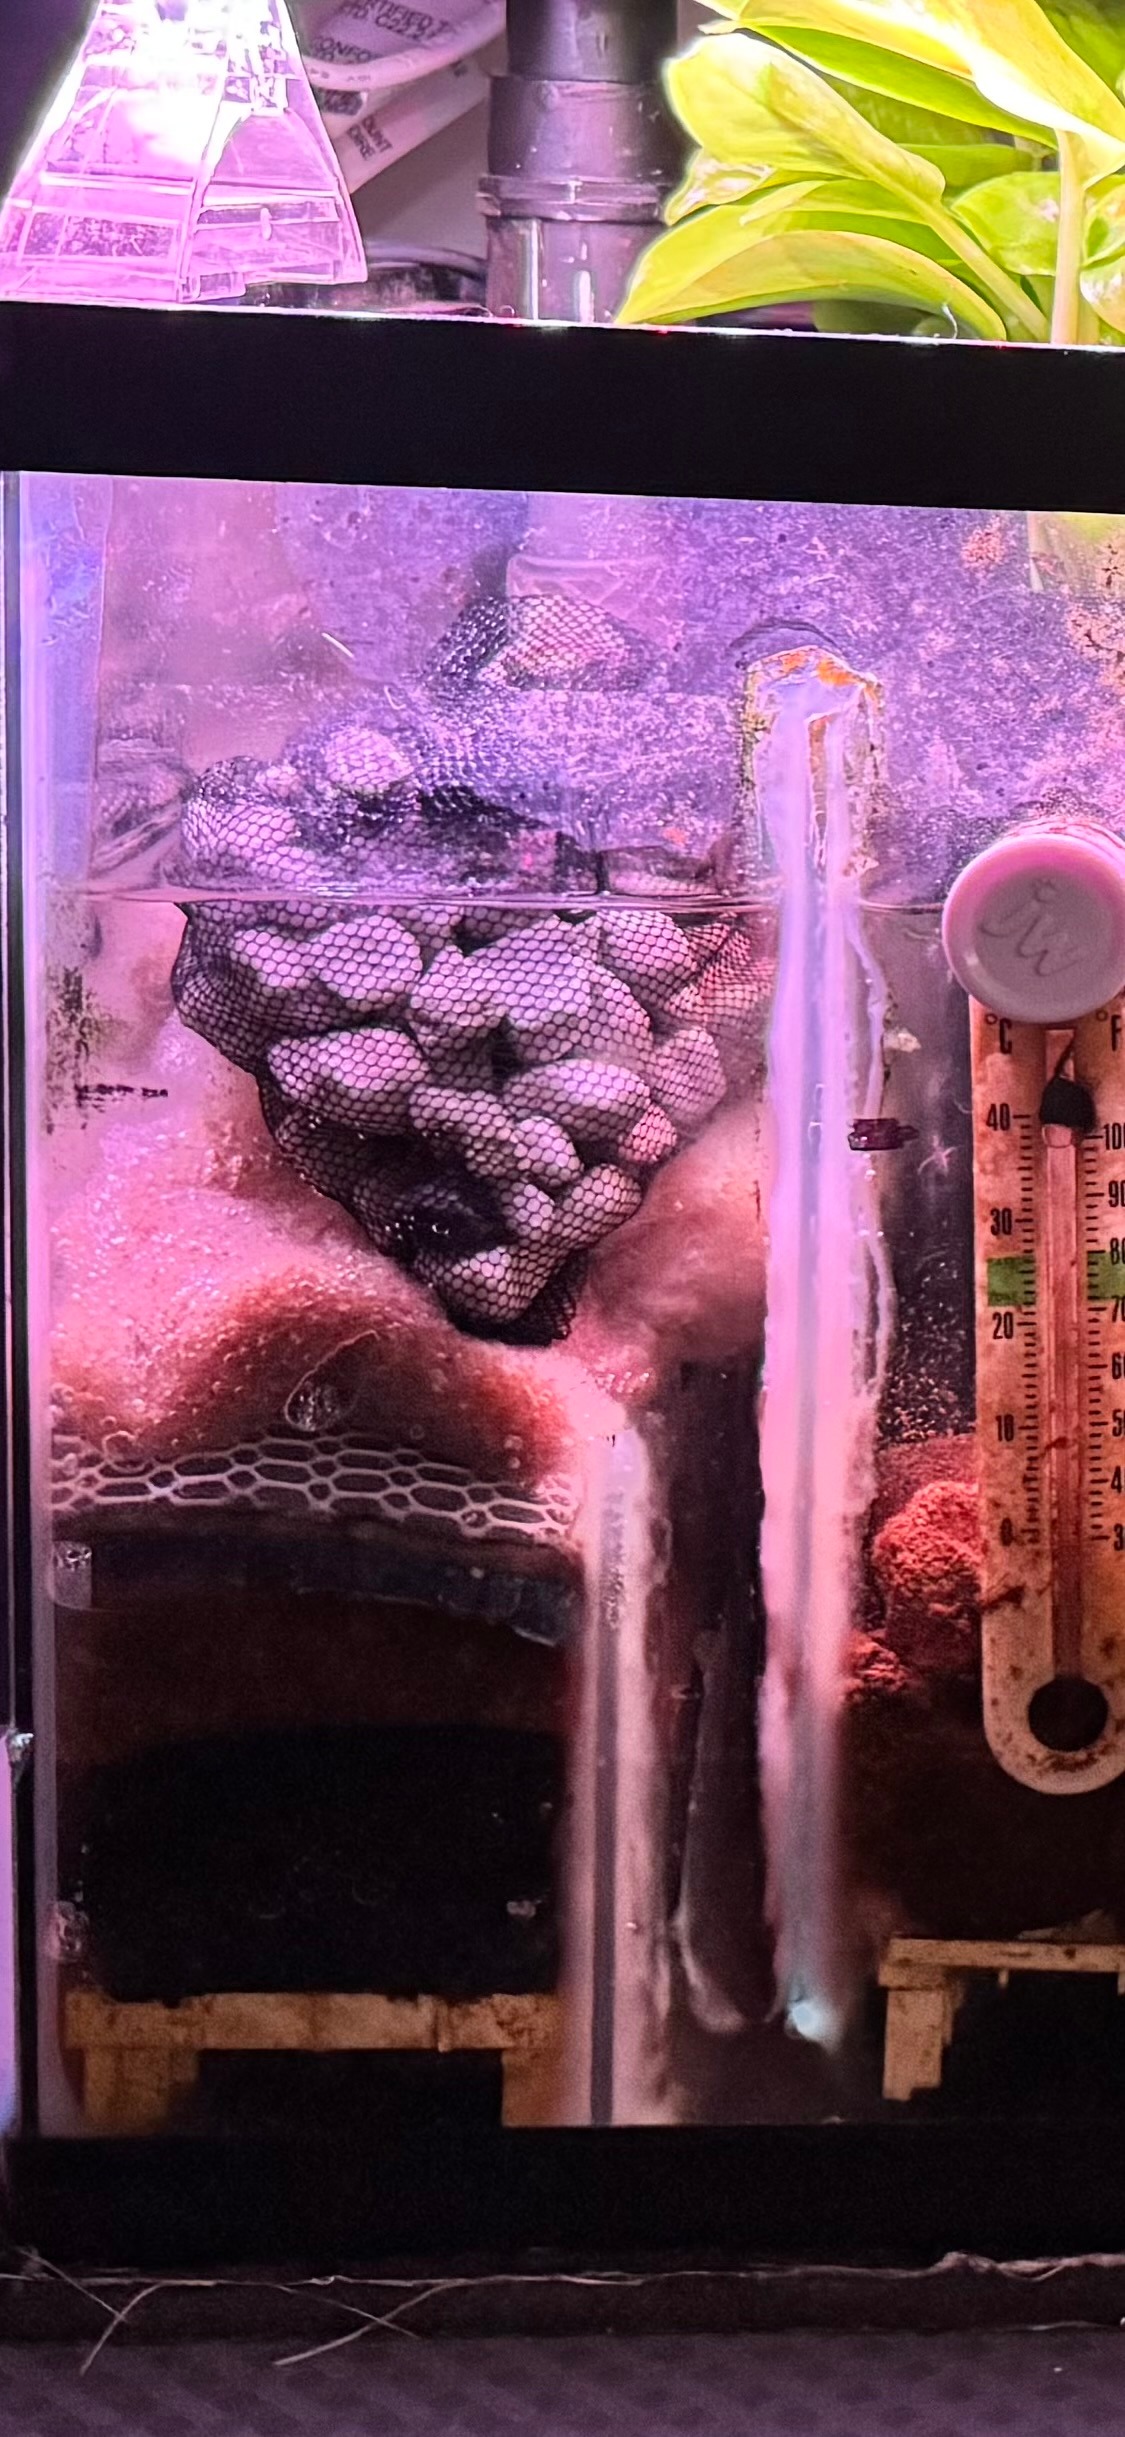
Designing a 5-Gallon Freshwater Sump: Flow, Baffles, and Layout
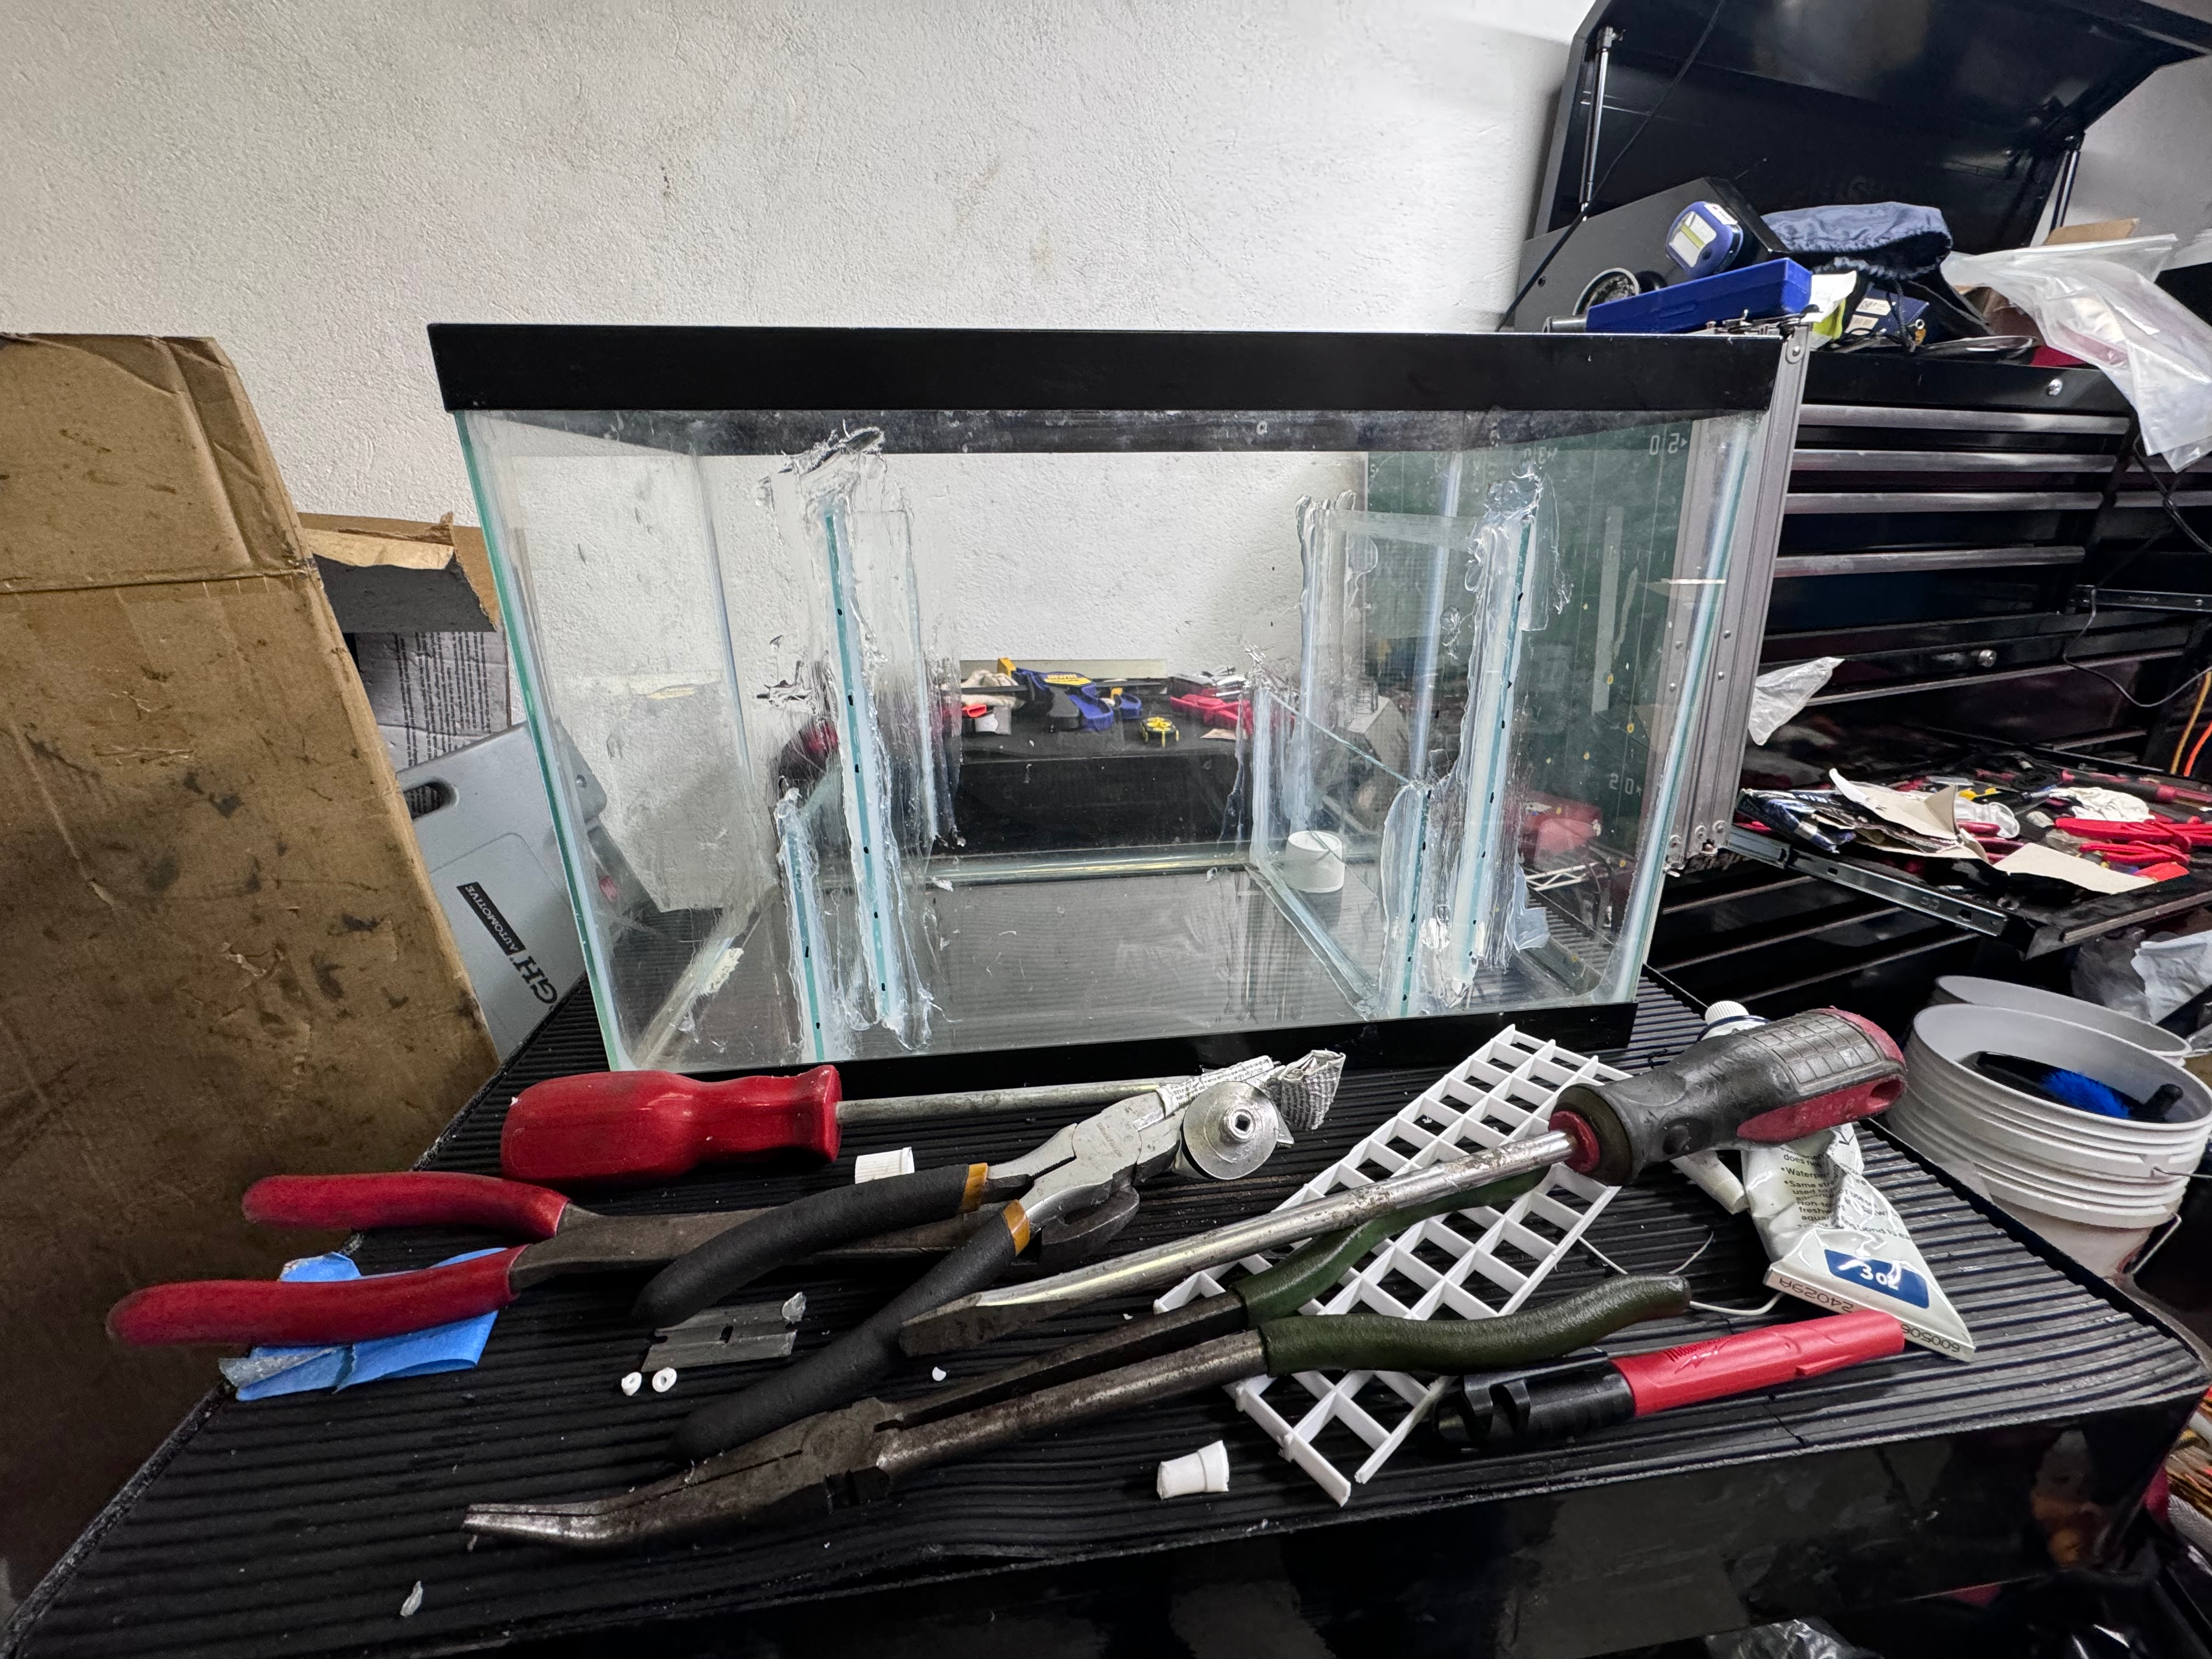
I built the sump before finalizing any plumbing.
Using a 5-gallon tank, I designed a layout where water enters below the media chamber, flows upward through the stacked media, then spills over a baffle into the next section before returning to the tank. This kept flow predictable and made maintenance straightforward.
Cutting and fitting glass tested my patience more than anything else: measure, cut, test fit, repeat.
Eventually everything fit. It wasn’t perfect — but it was solid, clean, and intentional.
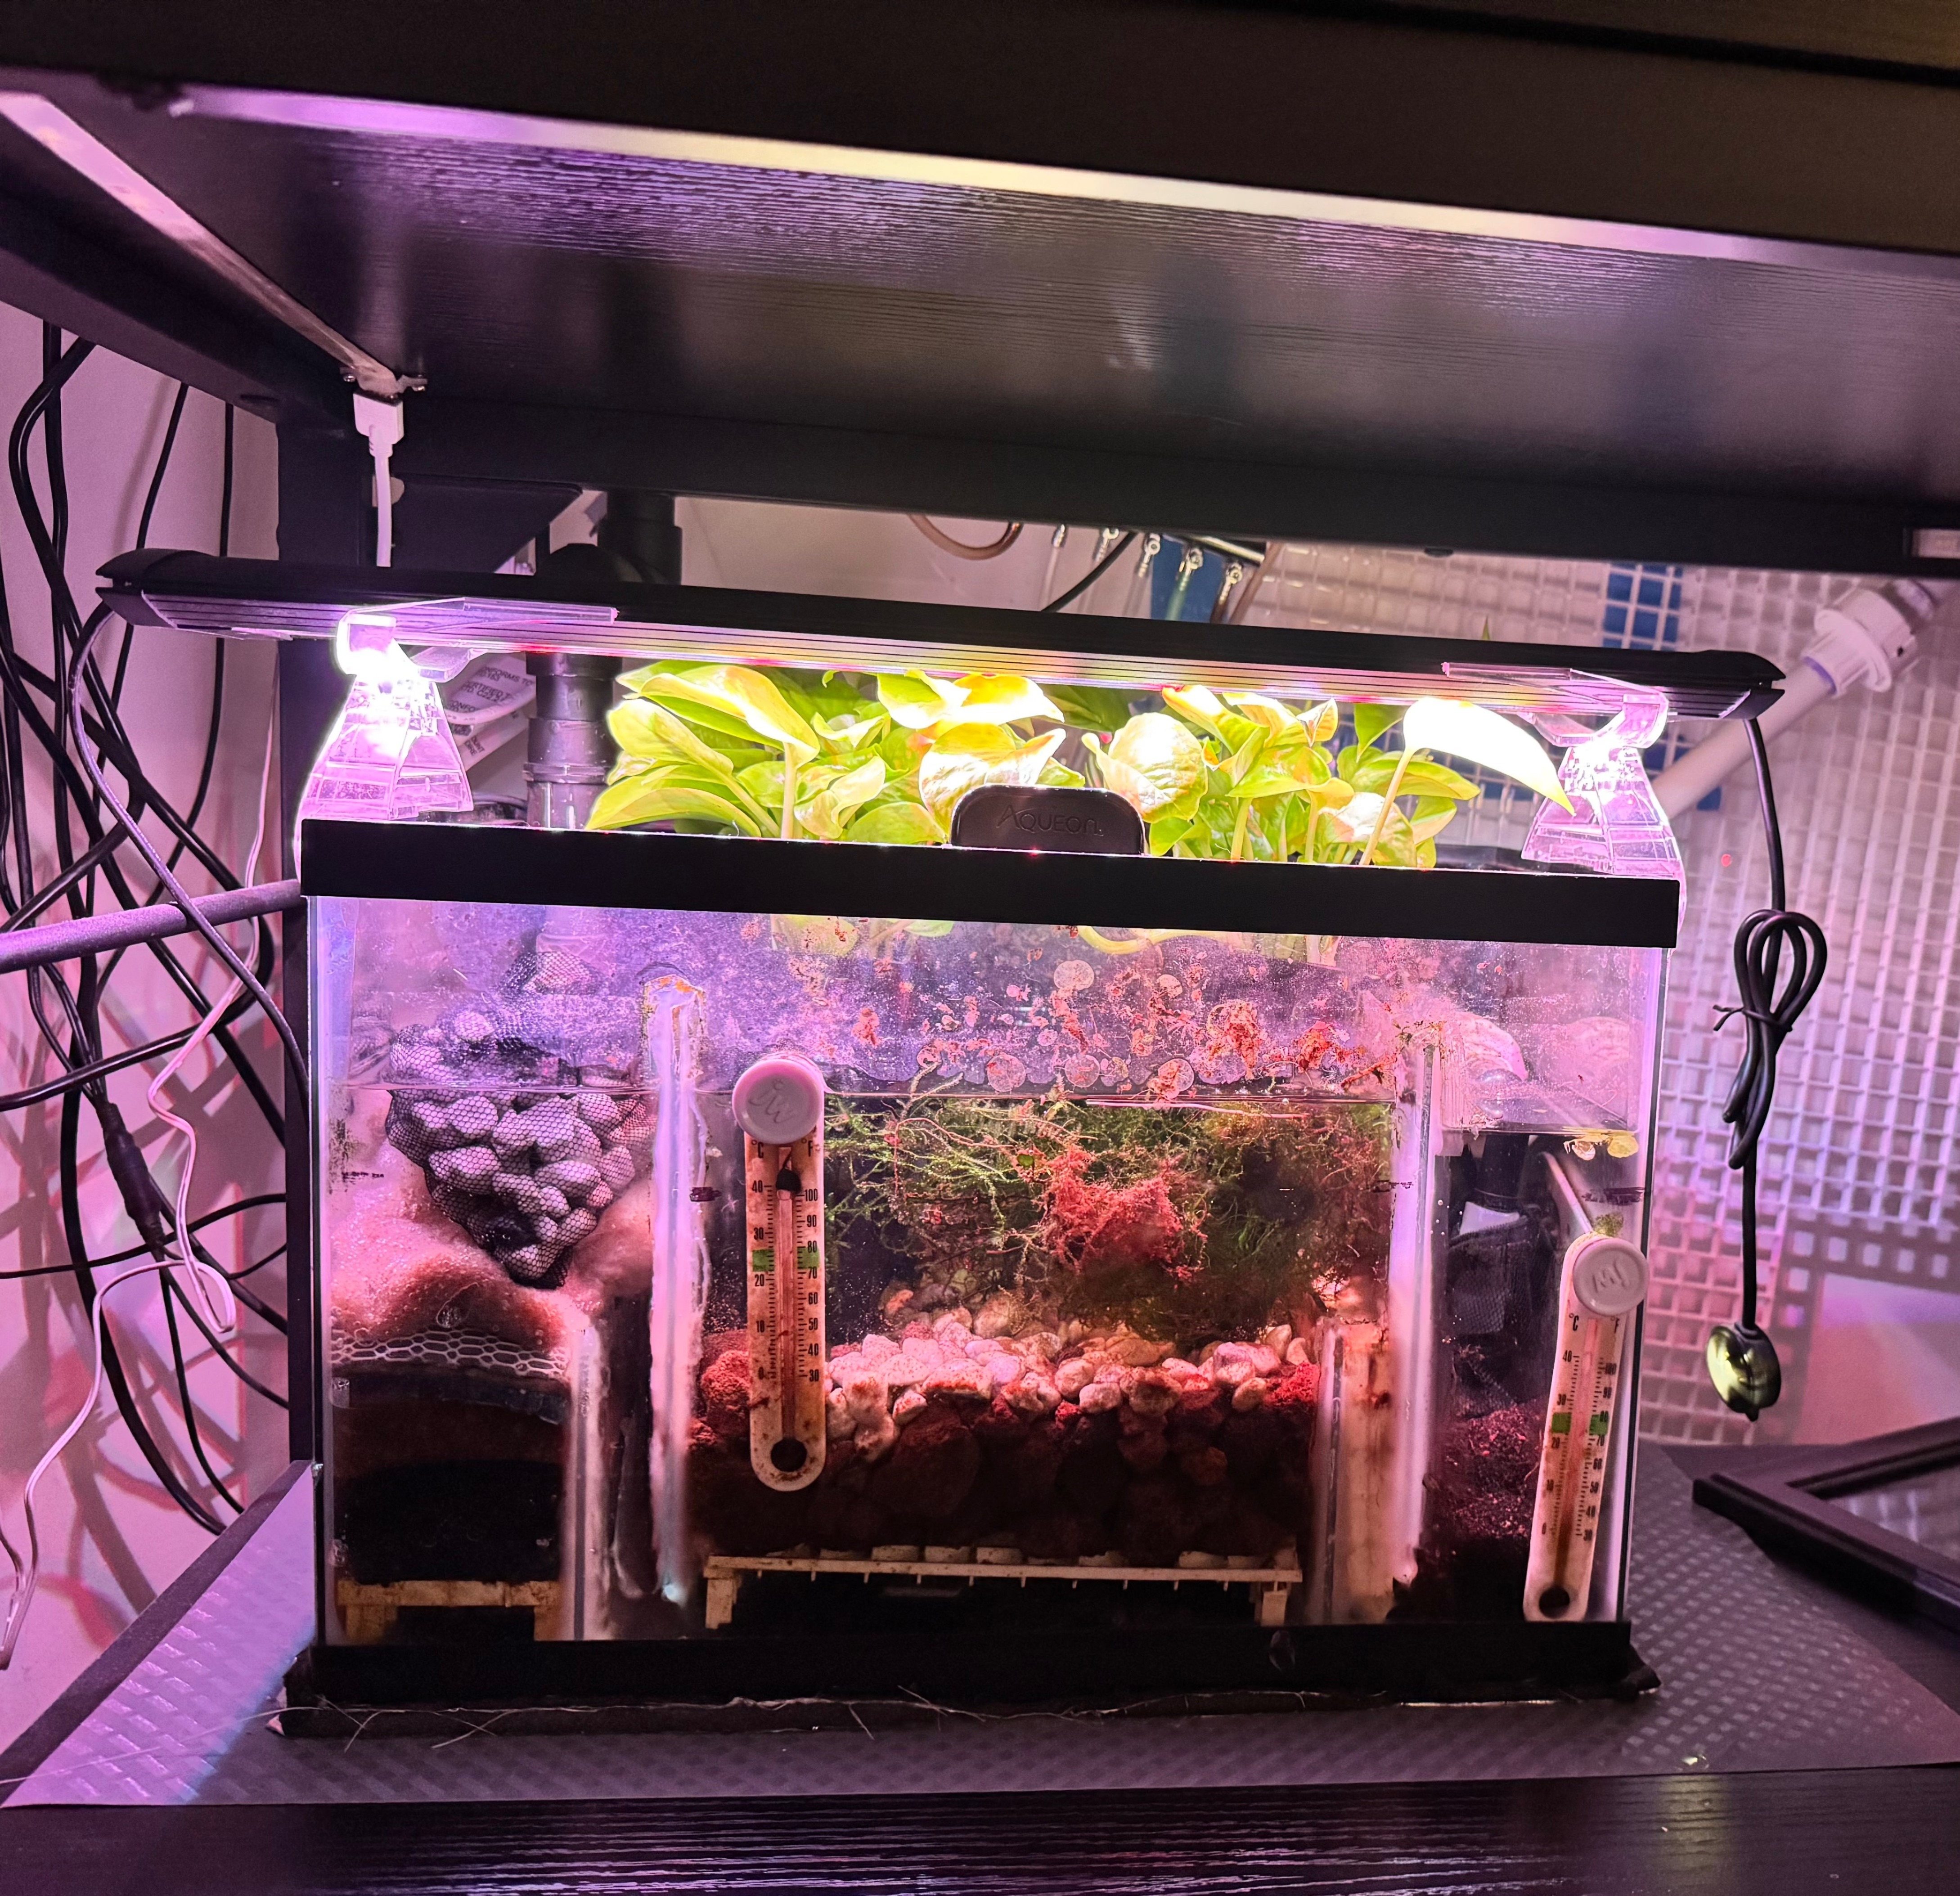
Freshwater Refugium Design: Pothos, Moss, and Nutrient Control
Finishing the sump didn’t stop the ideas. It opened up another possibility: adding a freshwater refugium.
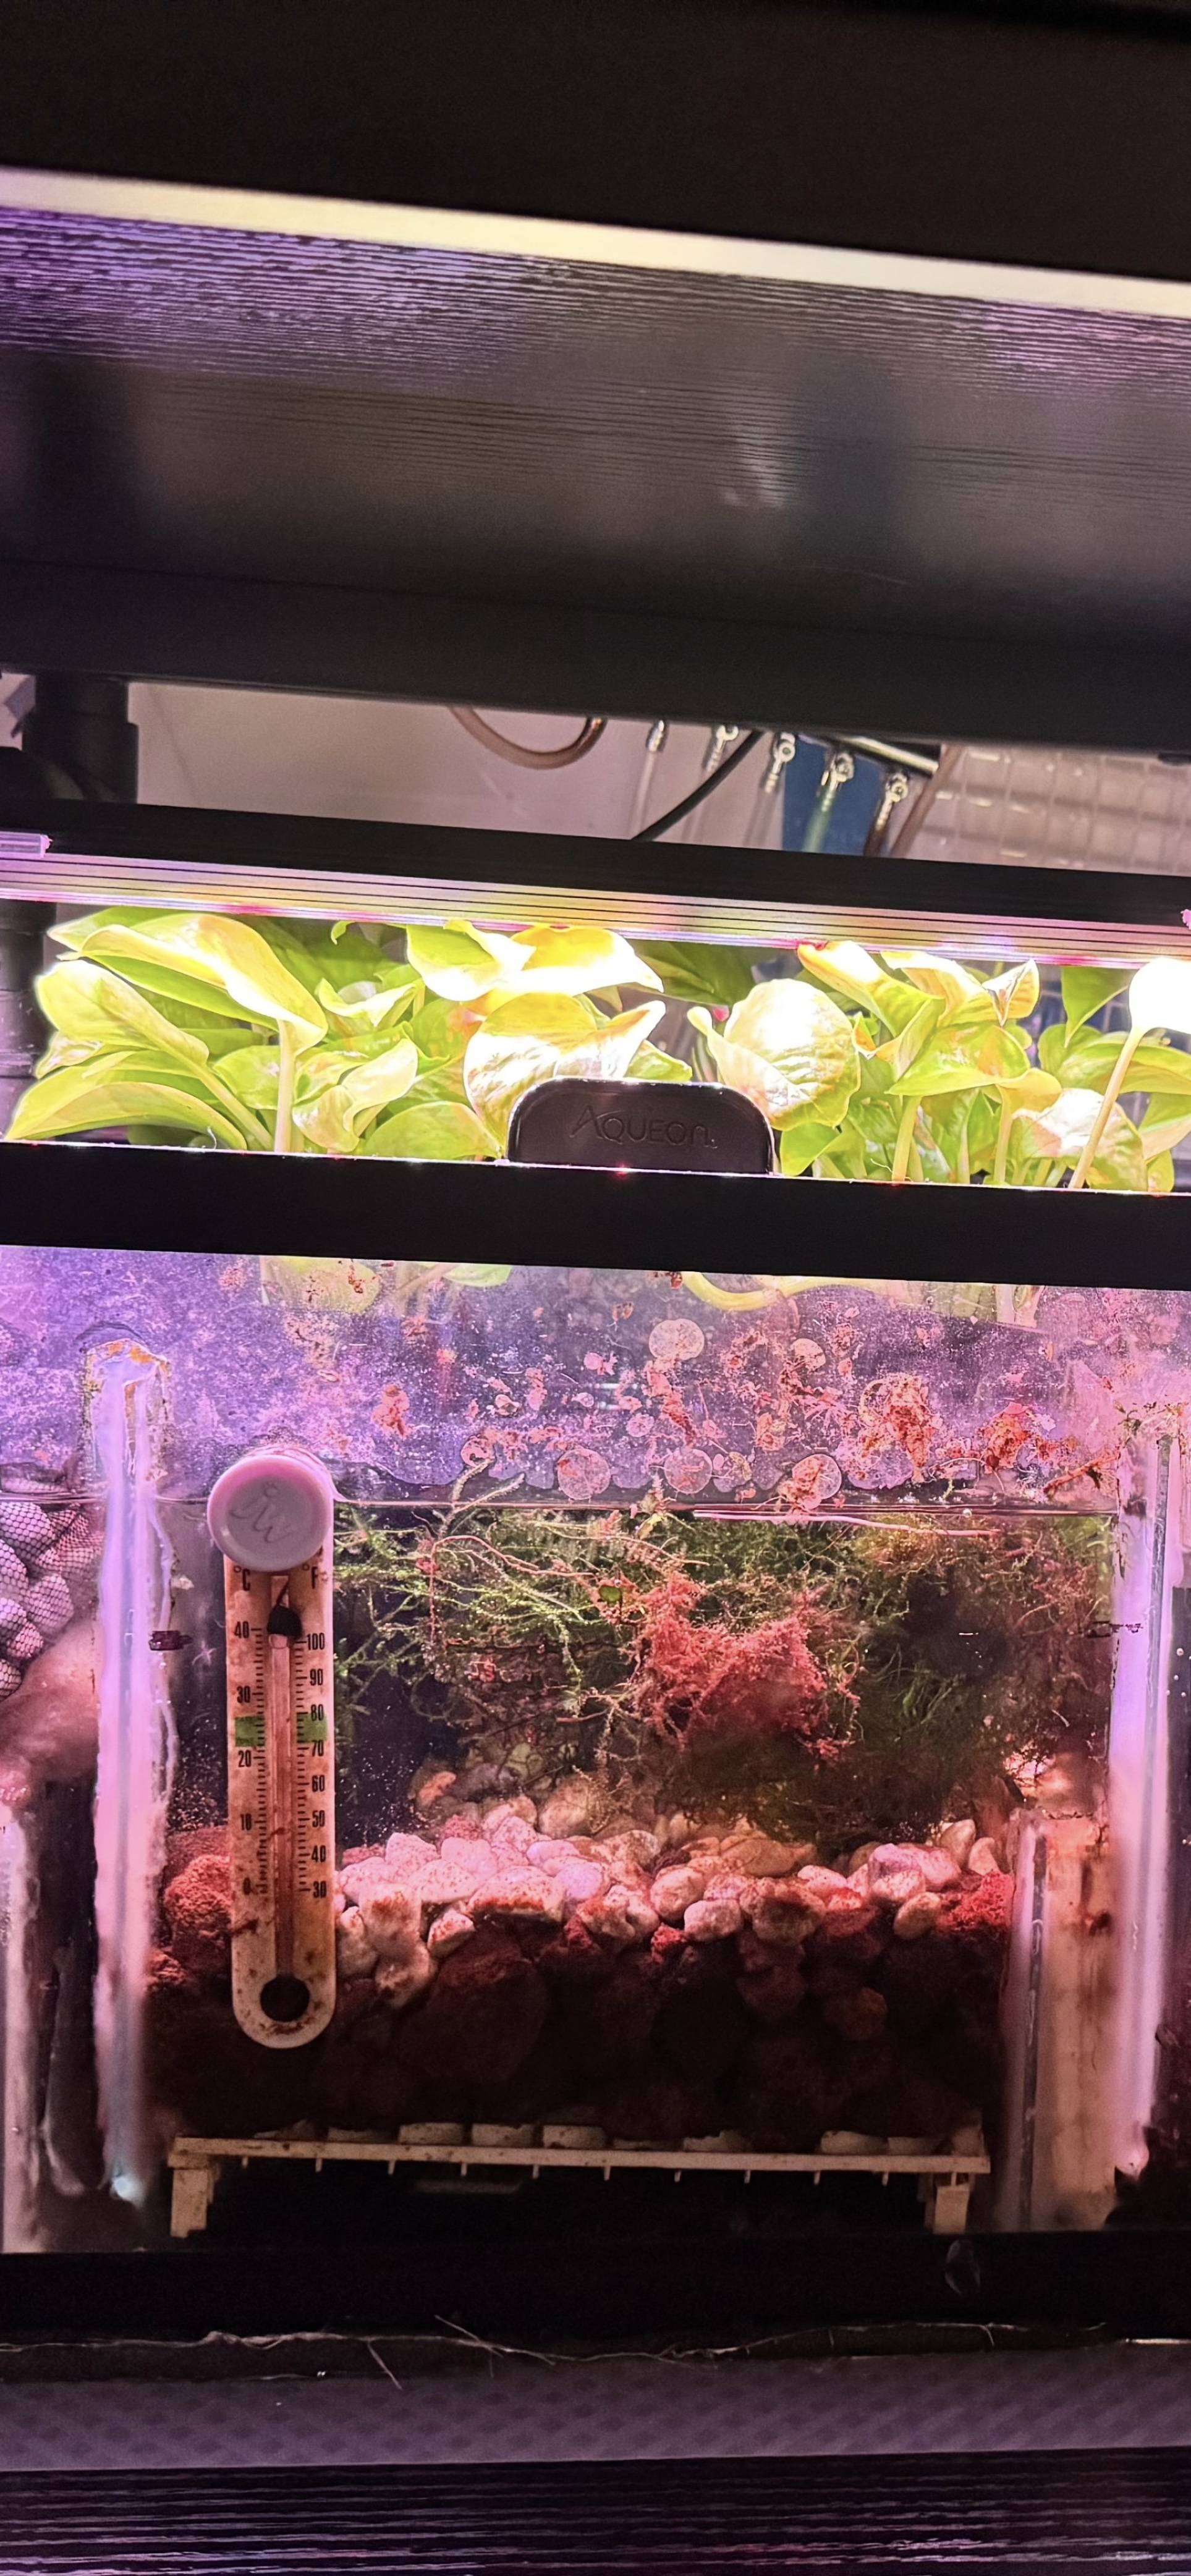
In the refugium section, I run pothos and moss — especially moss that tends to outgrow the main display tank. Moving it into the sump lets it grow aggressively without overtaking the aquascape.
The effect was immediate: better nutrient control, easier maintenance, and even more system stability.
Aesthetics mattered too. I didn’t want plants or equipment hanging off the display. I wanted everything hidden, contained, and flush — the kind of clean presentation you usually associate with saltwater systems.
The sump made that possible.
DIY Doesn’t Mean Anti-Product
DIY doesn’t mean rejecting manufactured products.
I still use proven media and conditioners where they make sense — including Matrix in the refugium section, Stability as system support, and Prime when needed. Purigen runs in the sump as an optional polishing media, chosen for clarity rather than necessity.
Purigen removes tannins and discoloration without stripping nutrients the way carbon can. It doesn’t interrupt the natural flow of a planted system. It’s a visual bonus, not a dependency.
Why DIY Media Stacks Outperform Cartridges
Most manufacturer cartridges follow the same pattern: carbon trapped inside with a fleece wrapped around it.
DIY lets you design filtration intentionally.
I run custom aquarium media stacks from coarse to medium to fine, with a polishing layer last. Water hits the coarse material first, so fine media doesn’t clog immediately. That extends service intervals and makes maintenance faster.
When media does clog, I rinse it and put it back. That’s not something cartridges are designed to do.
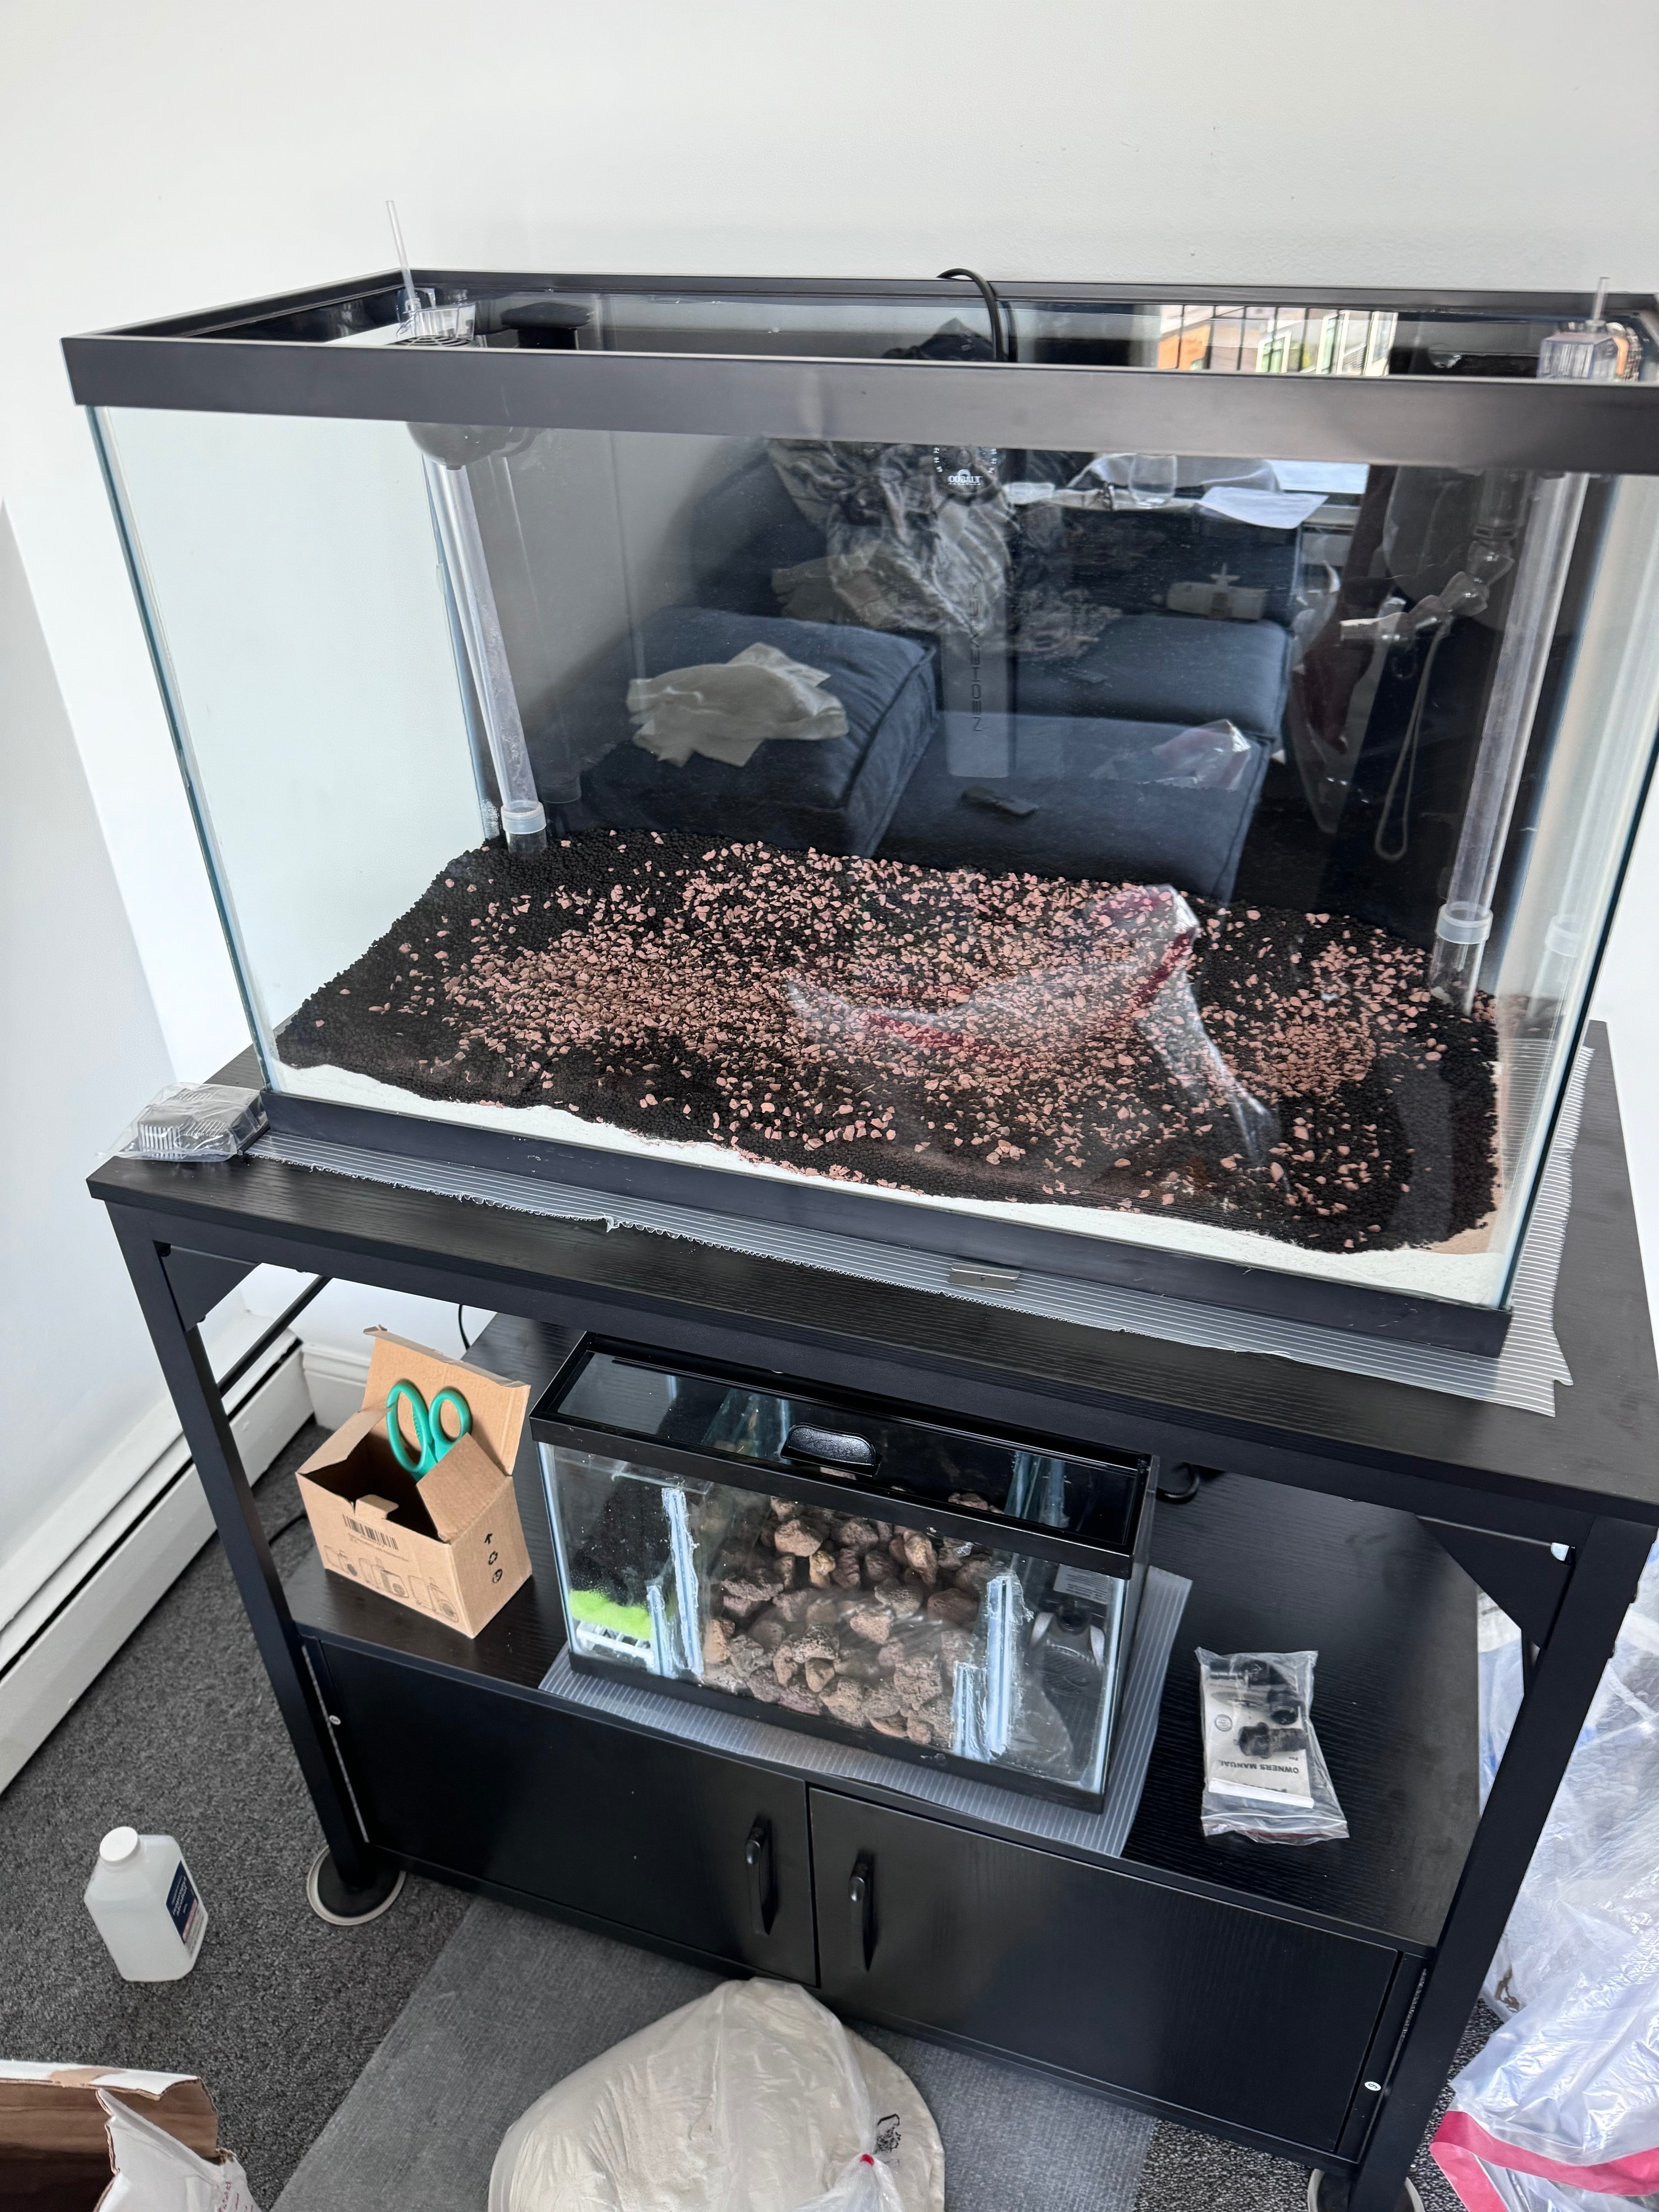
Total Aquarium Ecosystem Design: Substrate, Flow, and Filtration
This tank wasn’t just about the sump.
I also ran an undergravel filter system, added a weed cloth layer over the undergravel plate, placed dirt above that, and finished with a sand cap. Maintaining flow through the substrate was intentional, balancing structure with circulation to avoid stagnation.
The weed cloth prevents dirt from falling into the undergravel voids while still allowing water movement through the substrate. That keeps flow active below the surface without turning the substrate into a mess.
Each layer had a purpose. Nothing was accidental.
Real-World Results: Testing System Stability and Plant Growth
The results surprised even me.
I’ve never had plant growth like this, and the stability has been on another level. Once the tank matured, I tested water almost daily using liquid aquarium test kits and tracked trends over time.
I’ve confidently said: “Test this tank today — nitrates will be at least 10 ppm lower in two days.”
That confidence came from data, not assumptions.
Even when a large snail died and caused a nitrate spike, the system absorbed it. The highest reading I saw was around 40 ppm. Once the source was removed, the tank recovered.
Why DIY Matters (To Me)
This tank isn’t magic.
It works because it was intentional, tested, and held to a higher standard than it technically needed to be. It was designed to work with real life — not against it.
DIY didn’t make me a better fishkeeper.
Understanding my system did.
And sometimes, building something yourself is the fastest — and most affordable — way to get there.

Log parameters, feeding, and maintenance with our journals and guides.